Recipes, people, places and things we love — every month. Head to Substack to support our work. Visit  Later

Pickles and condiments

How to make homemade sauerkraut

Prep time 45 minutes
yields 2 kg

Photography by Tracey Creed
Assisted by Benoit Chabord & Amandine Paniagua
Recipe by Benoit Chabord
Words by Amandine Paniagua


Recipe best prepared in Autumn

Published July 15 2020
Updated September 22 2024

Ingredients

2 medium size cabbages
sea salt, 20 g per kilo of cabbage
fennel seeds
caraway seeds
peppercorns mix
cumin seeds
coriander seeds
Korean chilli powder
mustard seeds
parsley seeds

Method

Before starting, rigorously clean your hands, utensils and work area to avoid bacterial contamination.

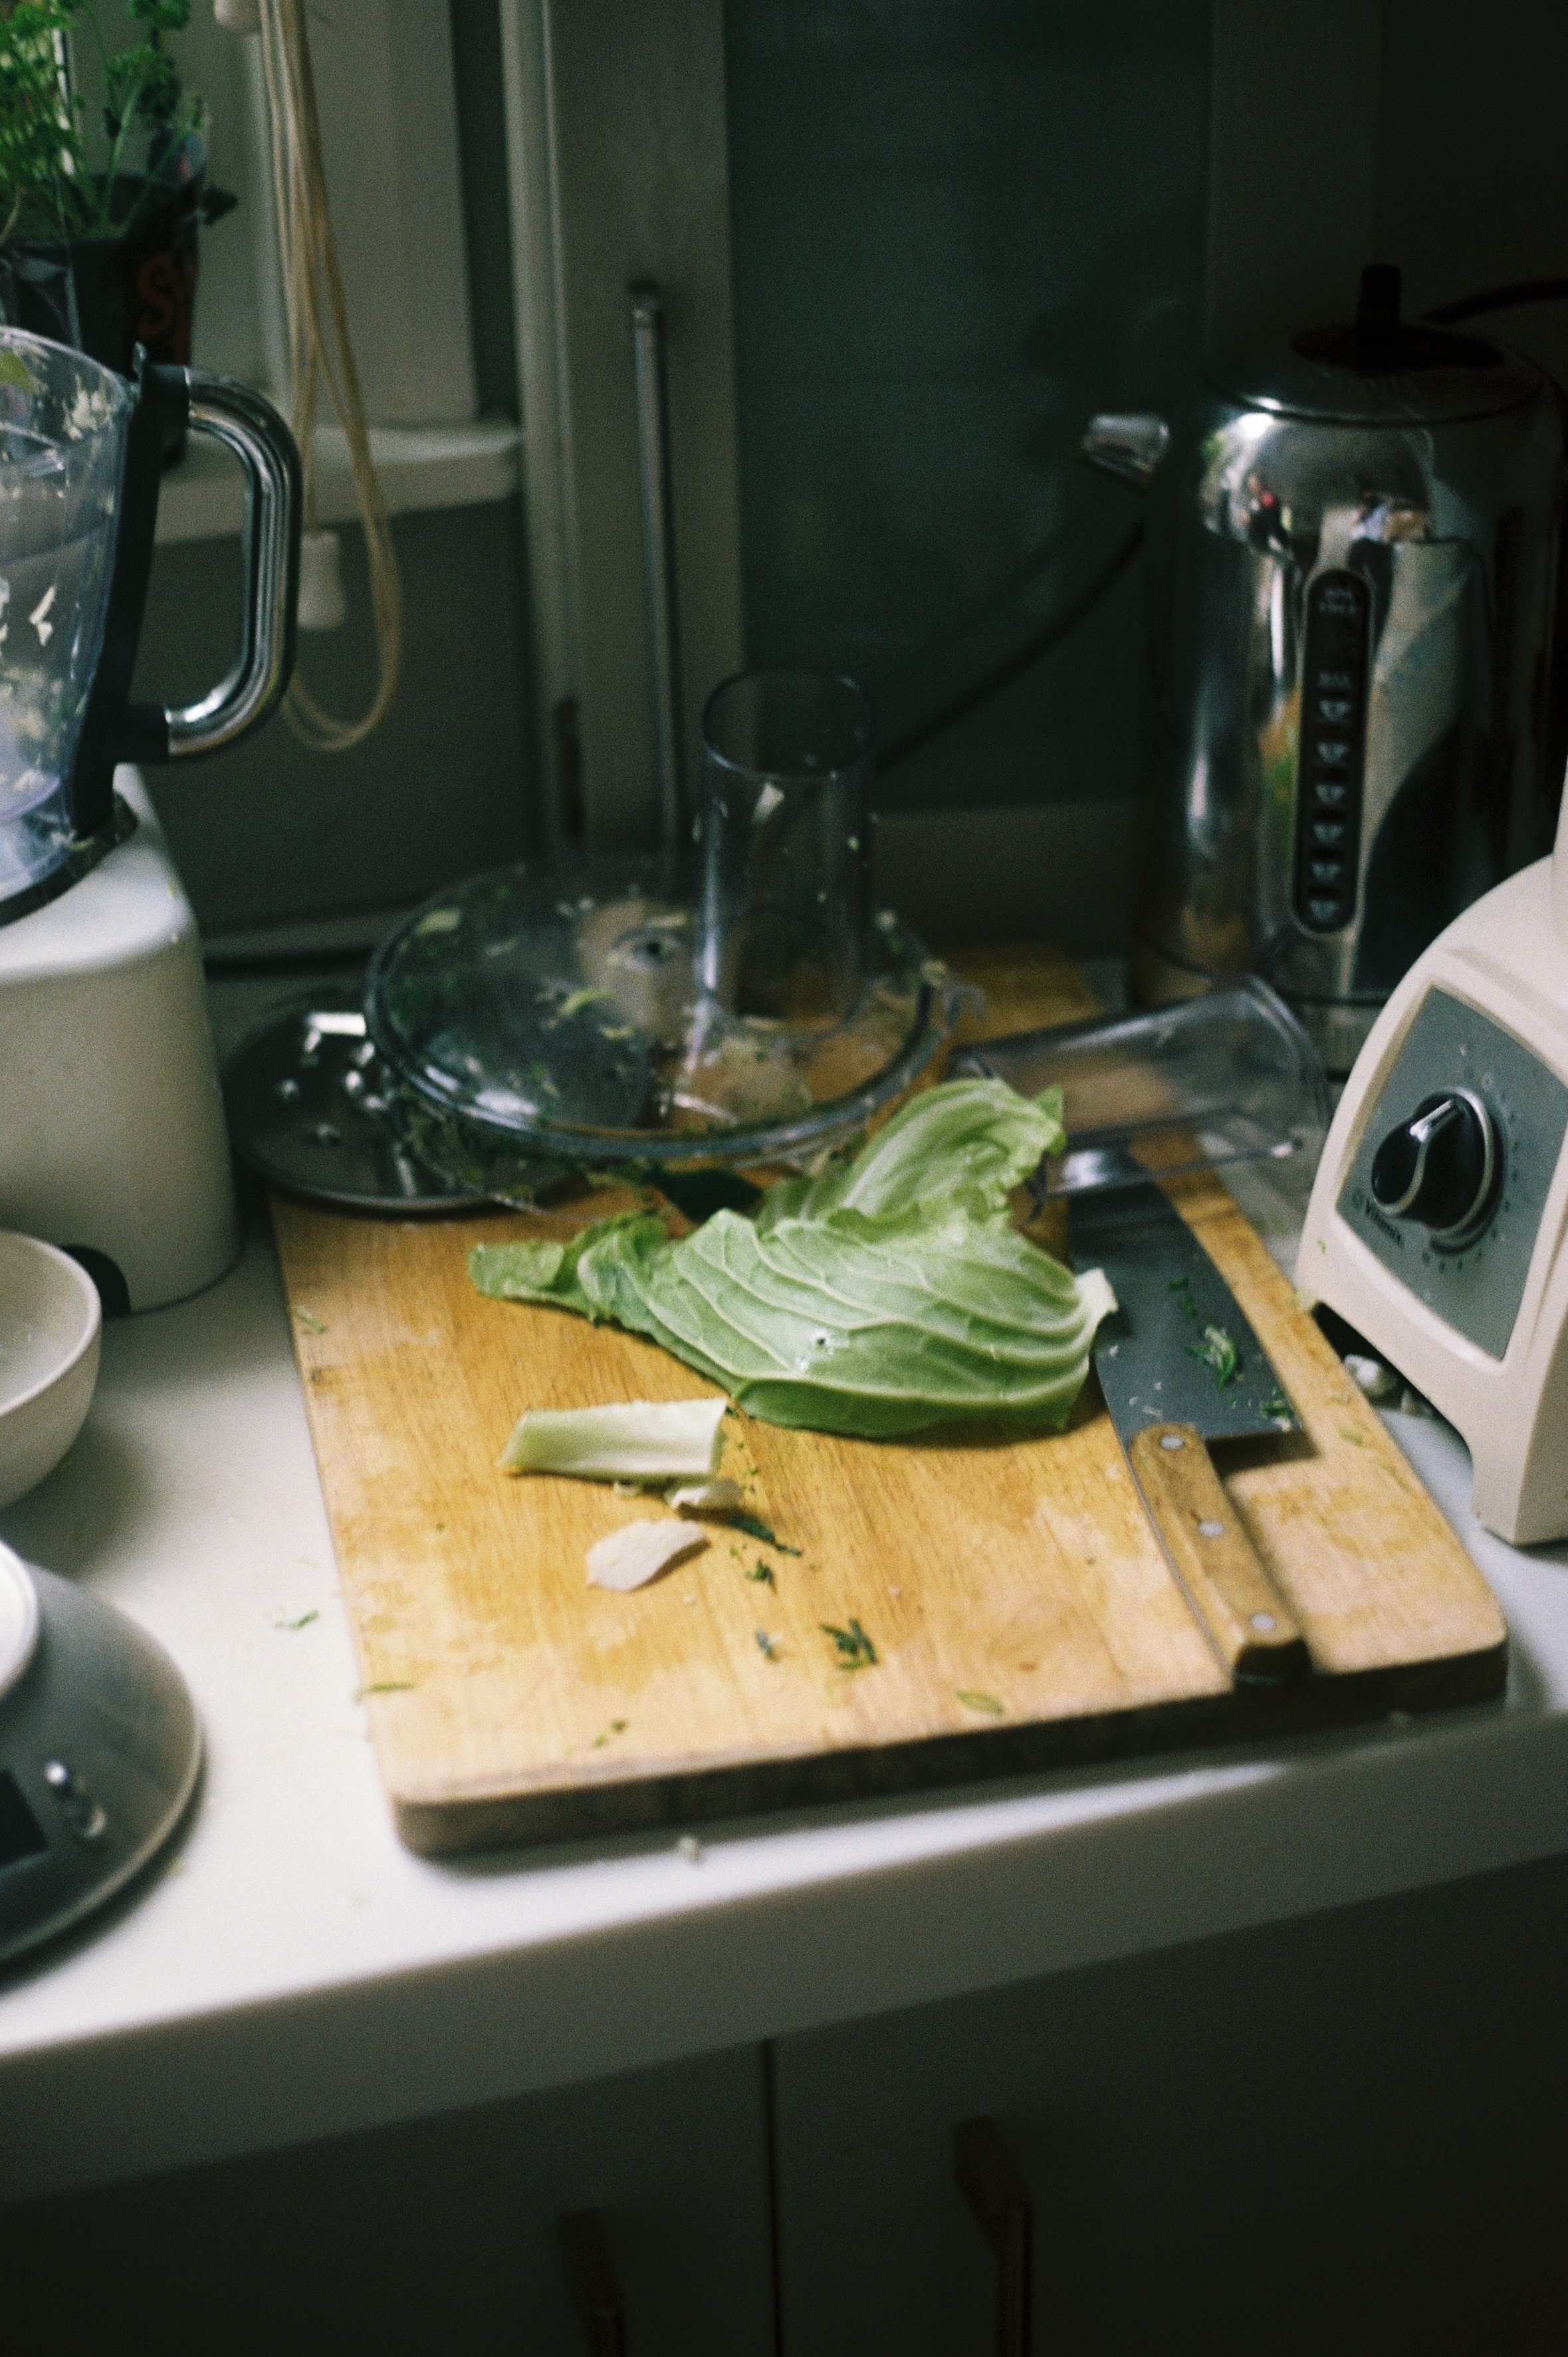
First, remove the outer leaves from the cabbage, discarding the dried leaves and reserving a couple of the freshest and largest ones for covering your sauerkraut at the end of the preparation.

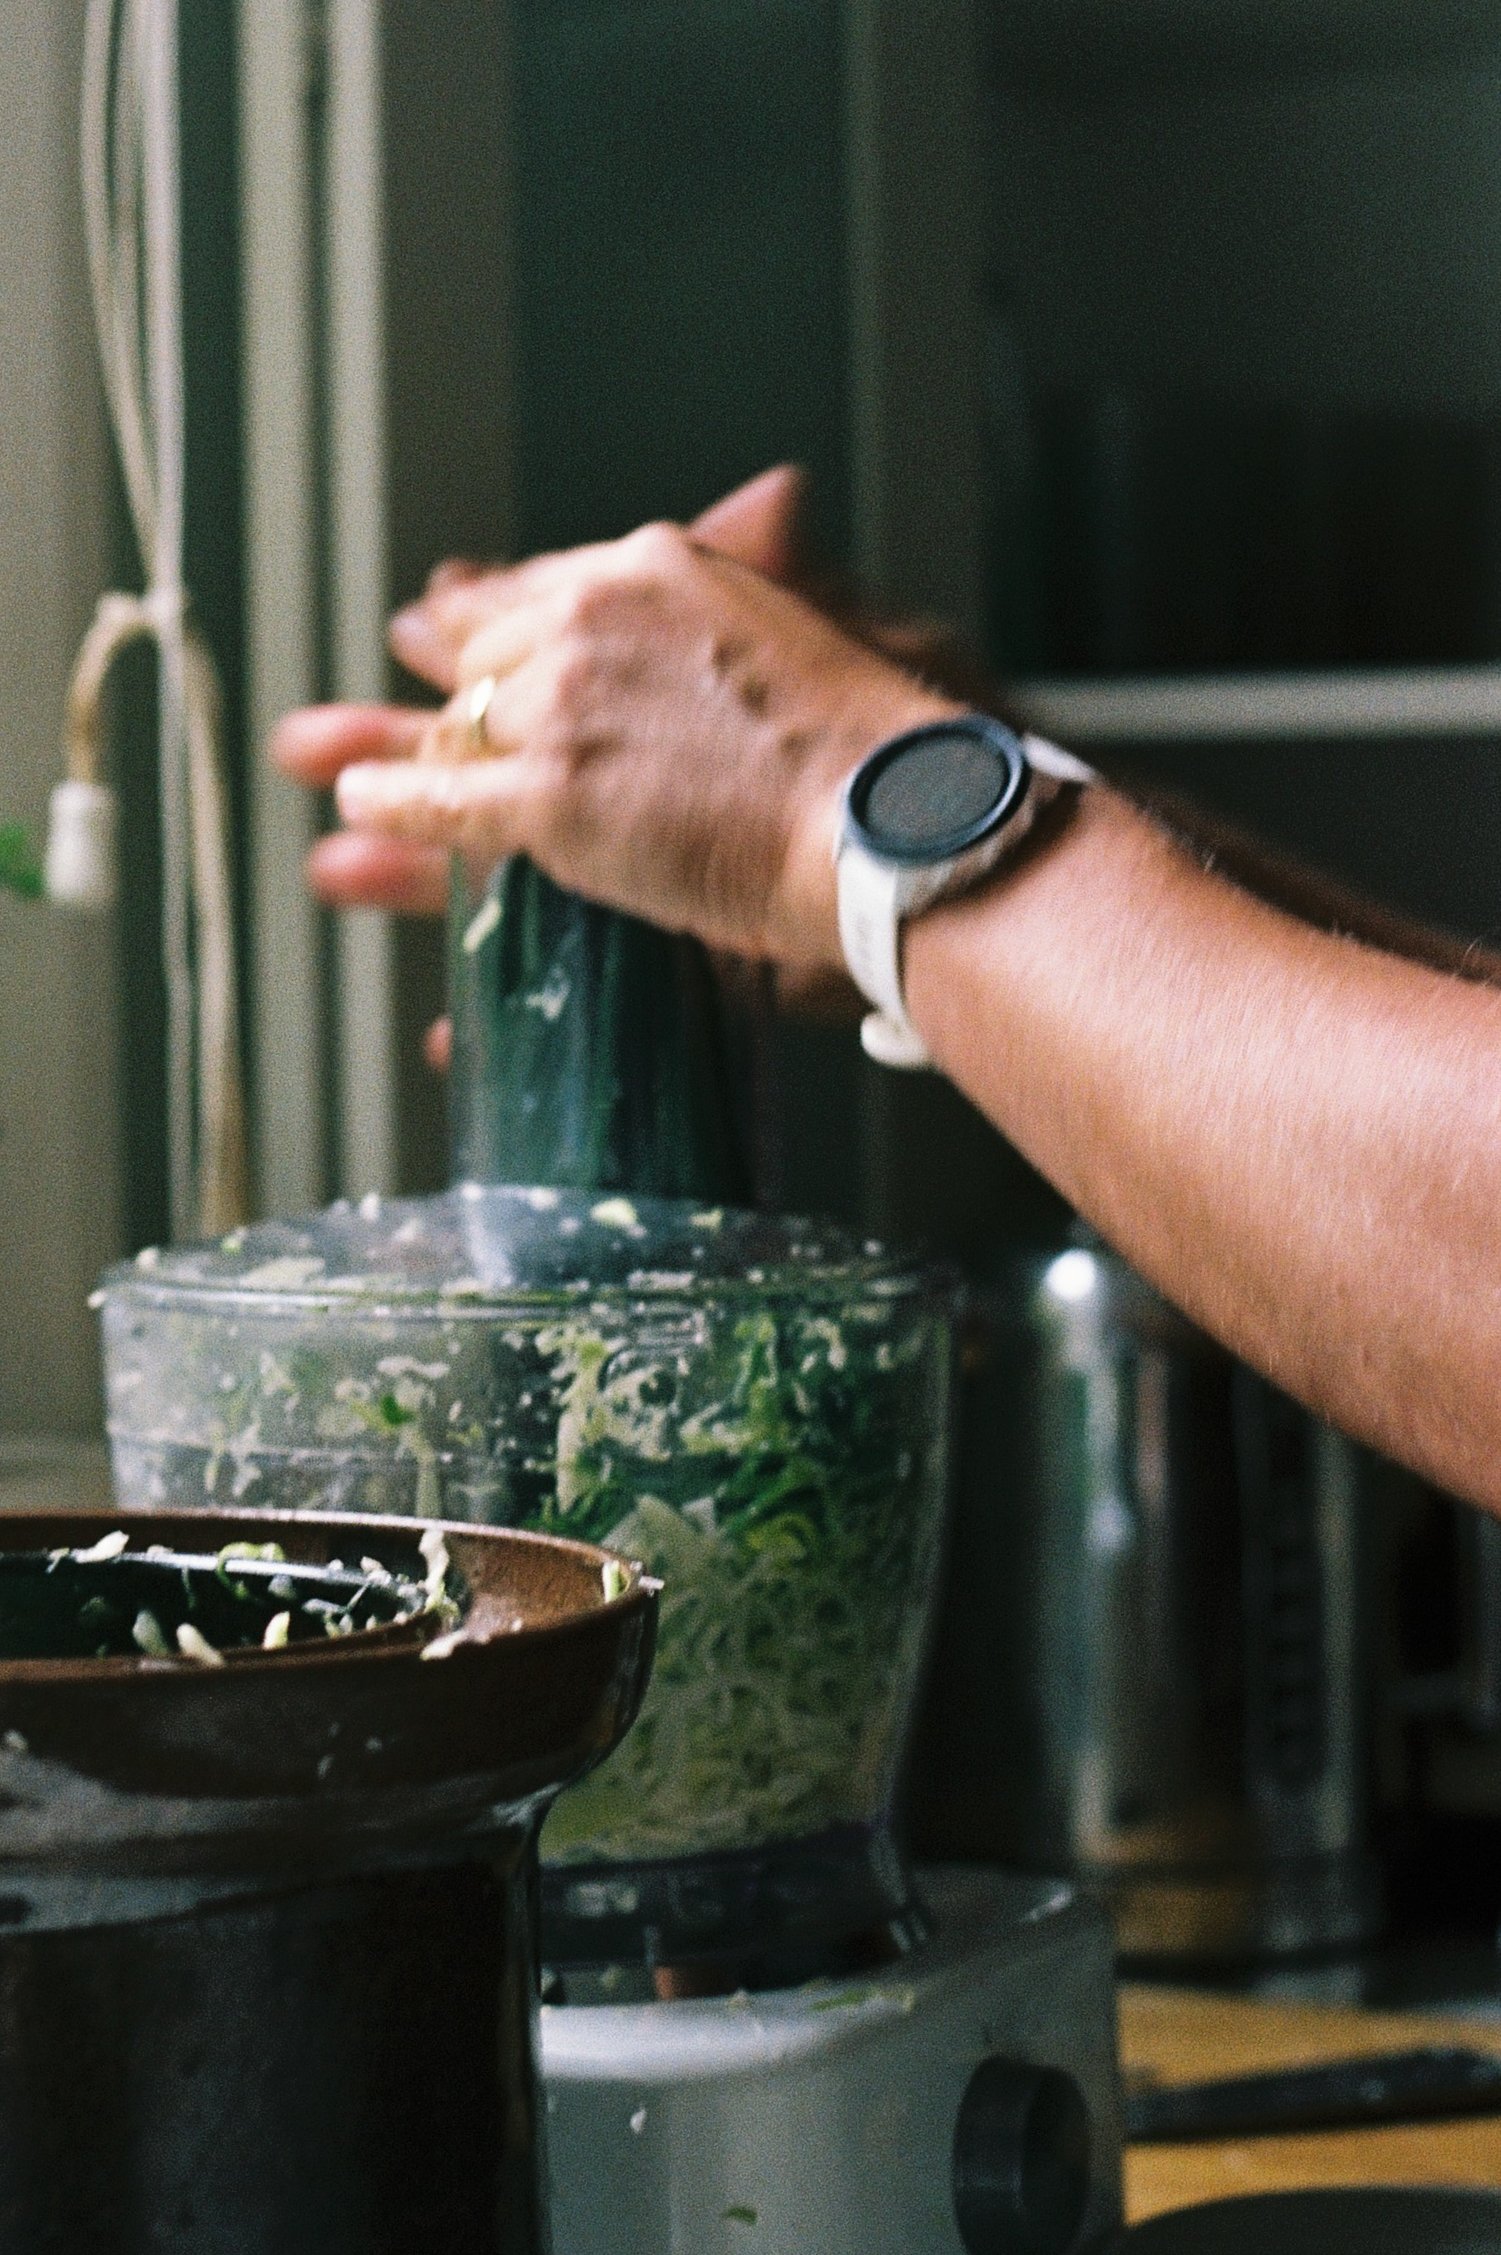
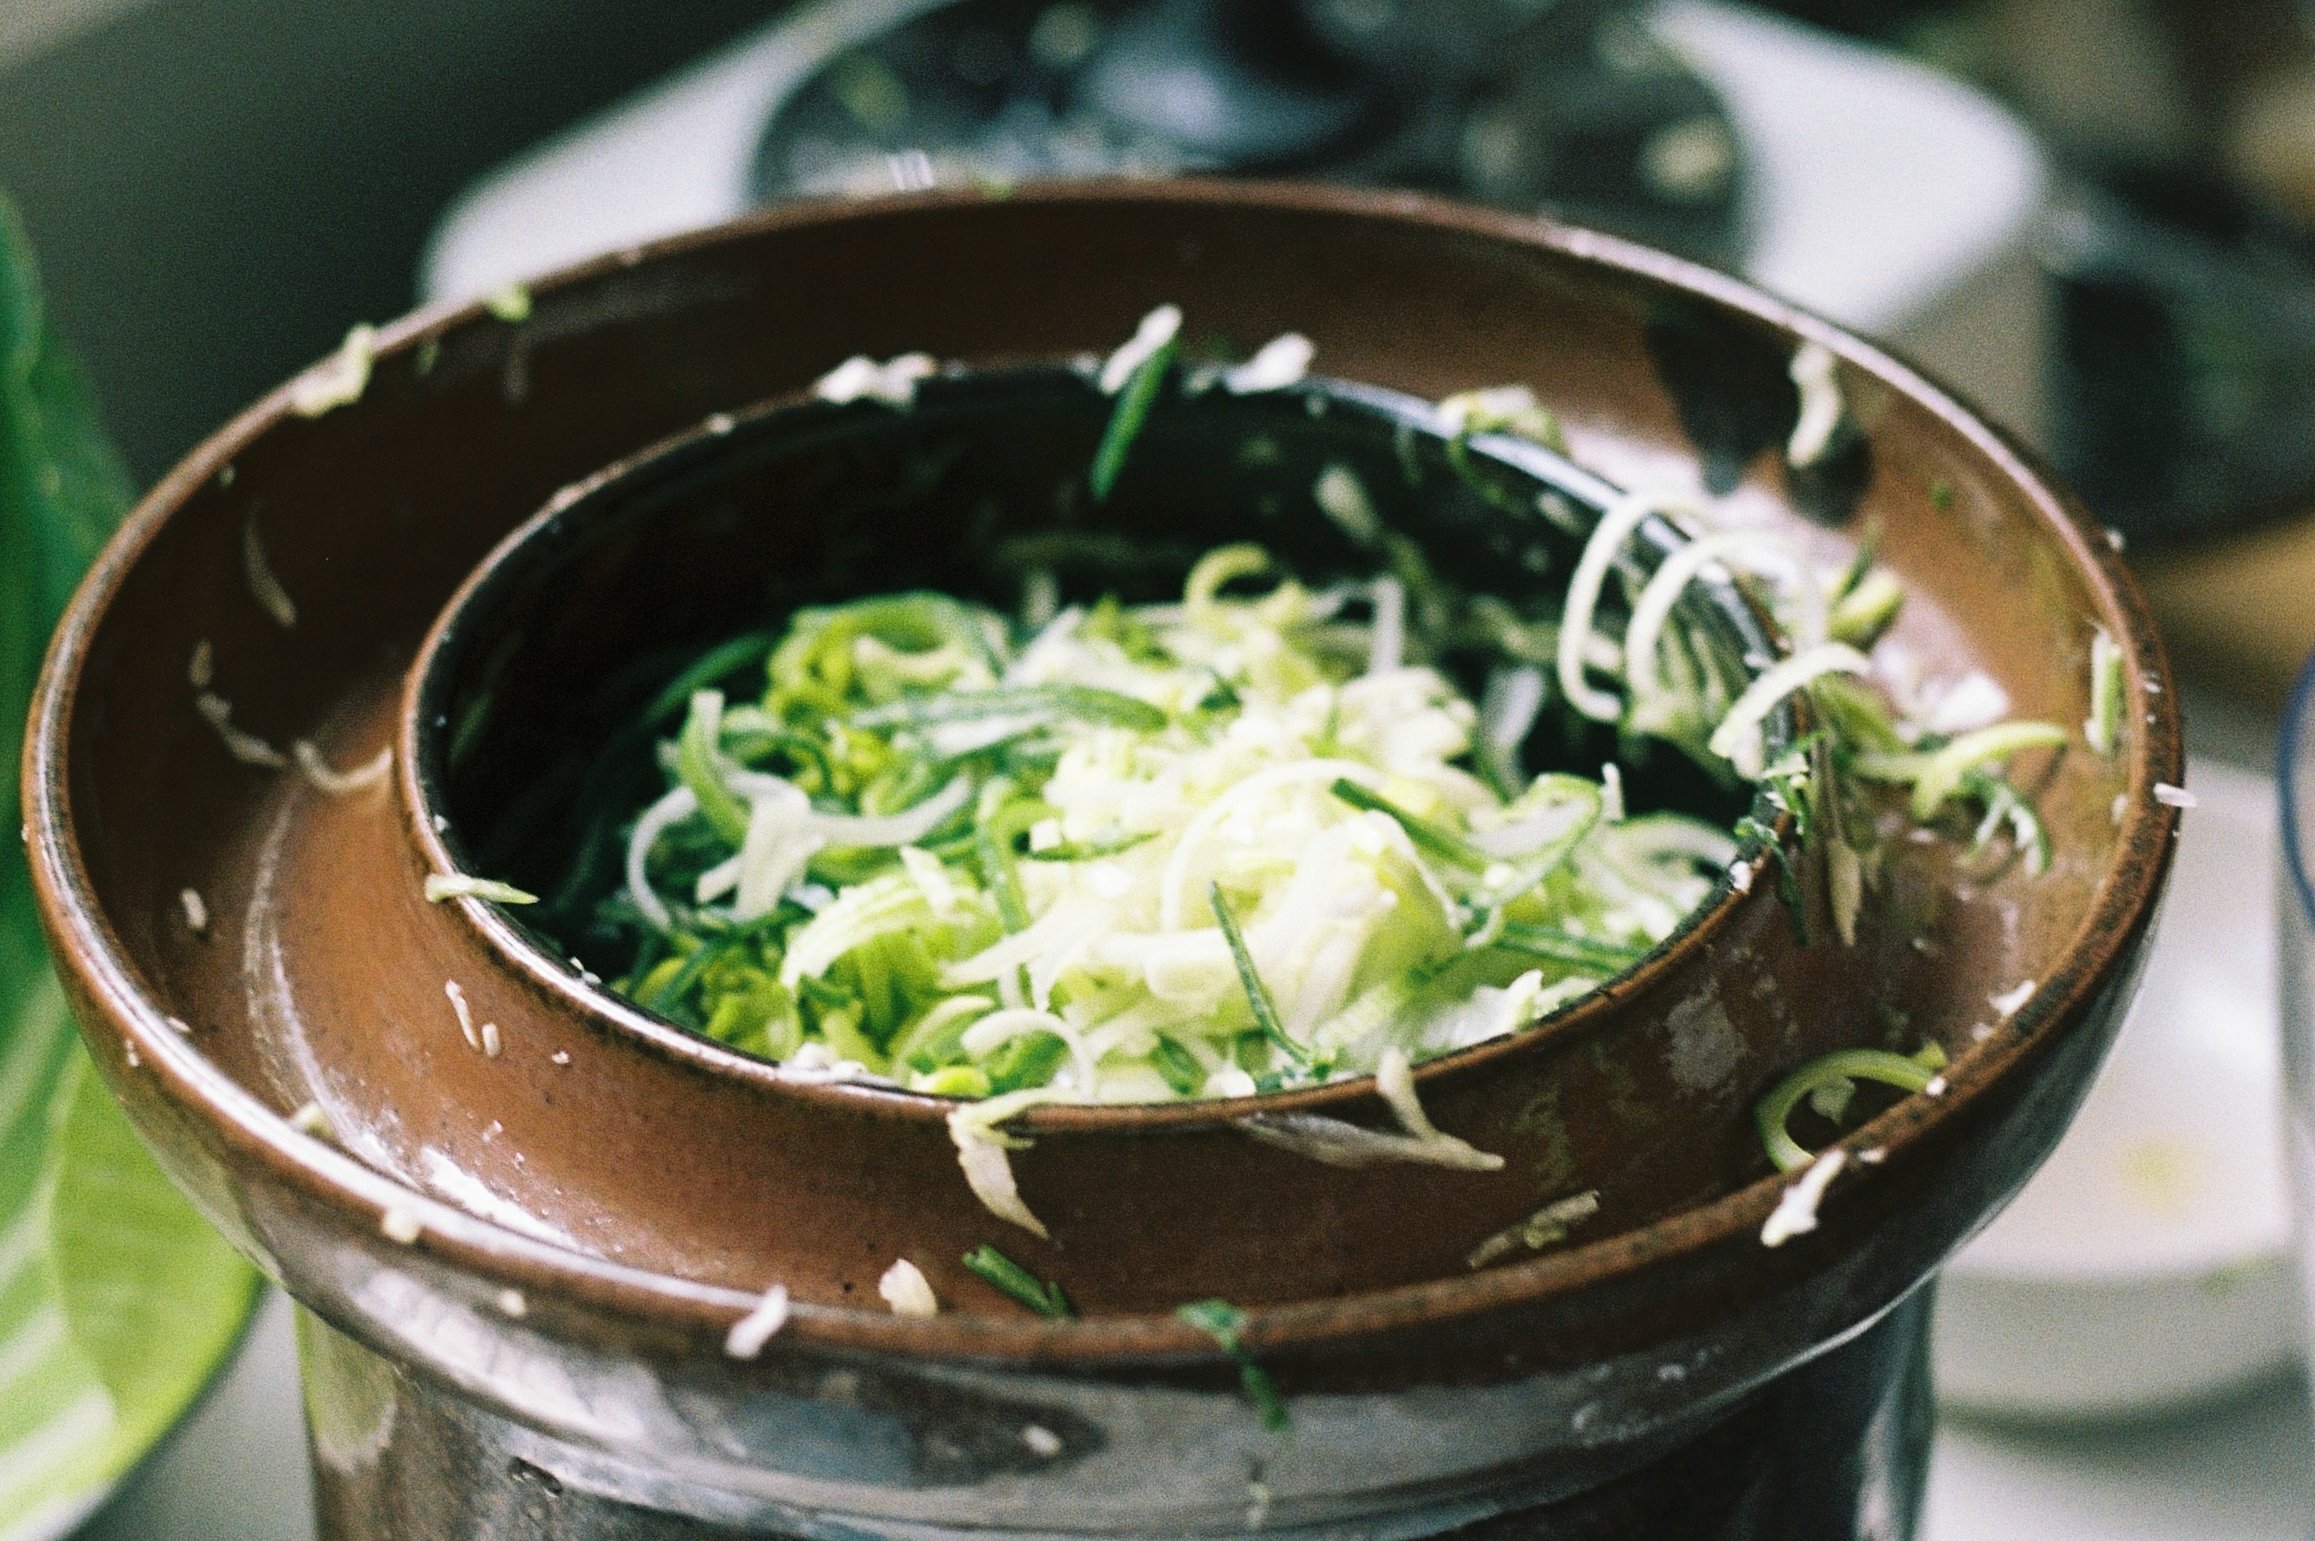
With the help of a mandoline or sharp knife, carefully shred the cabbage.

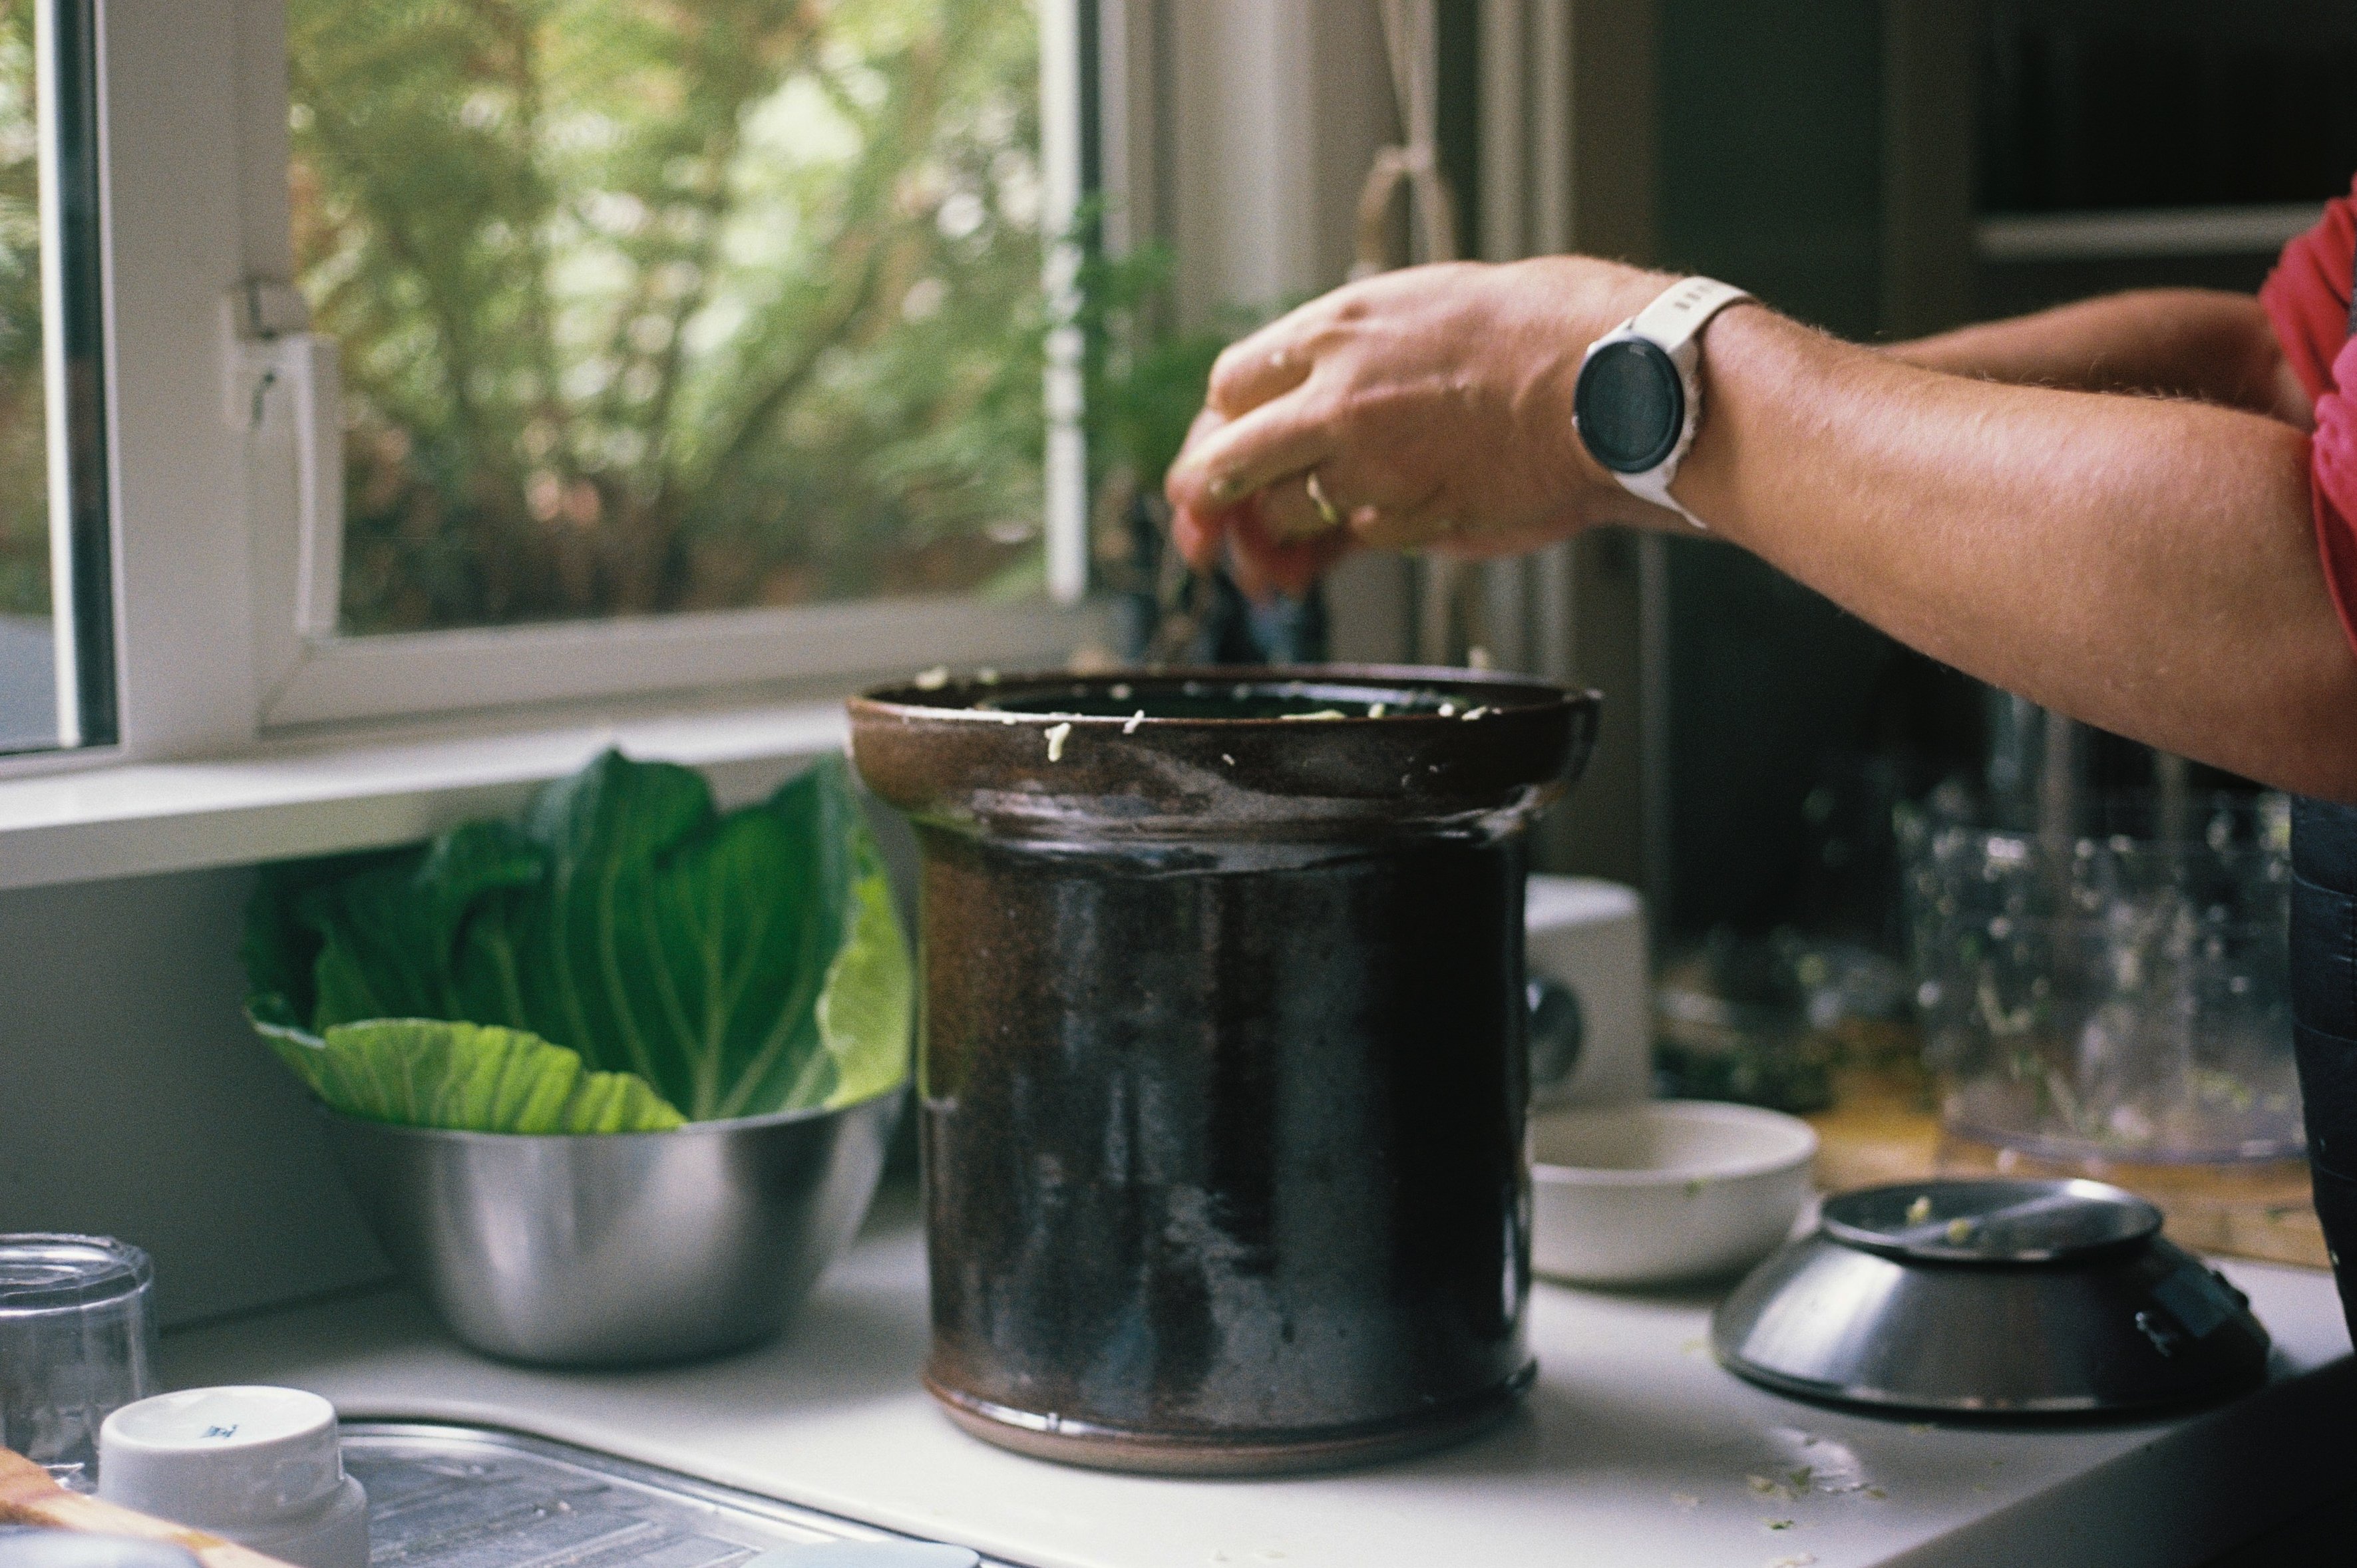
In a large bowl or bucket, combine the shredded cabbage with sea salt, mixing thoroughly for at least 5 minutes. Massage well and let sit for one hour. Sea salt will drain fluid from the cabbage. Reserve the liquid.

Add seeds and spices of your choice. Feel free to experiment! Here we combined fennel and caraway seeds with peppercorns; chilli powder with coriander and cumin seeds, or parsley seeds with mustard and caraway seeds plus peppercorns again. Massage well.

In thoroughly sterilised jars, pack the cabbage as tight as you can until reaching the 1 cm mark from the top of the jar. Press the cabbage as hard as you can to avoid air pockets. We used 750 ml and 500 ml canning jars, size doesn't matter as soon as you can fill the entire jar. Note that smaller batches have quicker fermenting time.

Once the jars are full, pour the reserved cabbage liquid over packed cabbage and thoroughly cover with the reserved leaves, to ensure cabbage stays immersed. The idea is that the cabbage remains fully submerged during the fermentation process.

Now, option one is to seal the jars. On the first week, open and close your jar once per day to help evacuate extra air, reducing the risk of overflow and contamination. Option two, place a zip lock bag, filled with water, on top of the cabbage leaves. The bag has to cover the entire surface over 3 cm height, heavy enough to keep pressure. This pressure on the mixture is to avoid the air bubbles to come up and the sauerkraut to dry out. The advantage is that this method is suited to vessels larger than a standard jar.

Let the jar sit in a dark space for 7 to 20 days. The apparition of bubbles, foam or white scum is usual, that is fermentation in action. Remove potential scum before placing in the fridge. However, any trace of mould should be removed immediately and not eaten. Carefully check if remaining fermented cabbage has been affected before consuming.

After opening, this sauerkraut will keep up in the fridge for 1 to 2 months in a sealed jar. As long as the cabbage tastes delicious, it is good to eat. Our first batch didn't last two weeks.

*Also pictured in this recipe is the technique Benoit makes for the house. He is using a repurposed bucket with a fermenting lid to regulate the air during the fermentation process, so he doesn't have to open and close the bucket in the first week. These tools are practical to produce a larger volume of sauerkraut, quicker, so that we can go through a month of supply for several people. Through this process, after the fermenting period, Benoit will transfer the sauerkraut into sterilized glass jars and store them in the fridge, ready to savour.

We understand beginners might not start producing kilos of sauerkraut in their first intent, so we kept the recipe's write-up for small production—no need to invest in particular tools either. Enjoy!
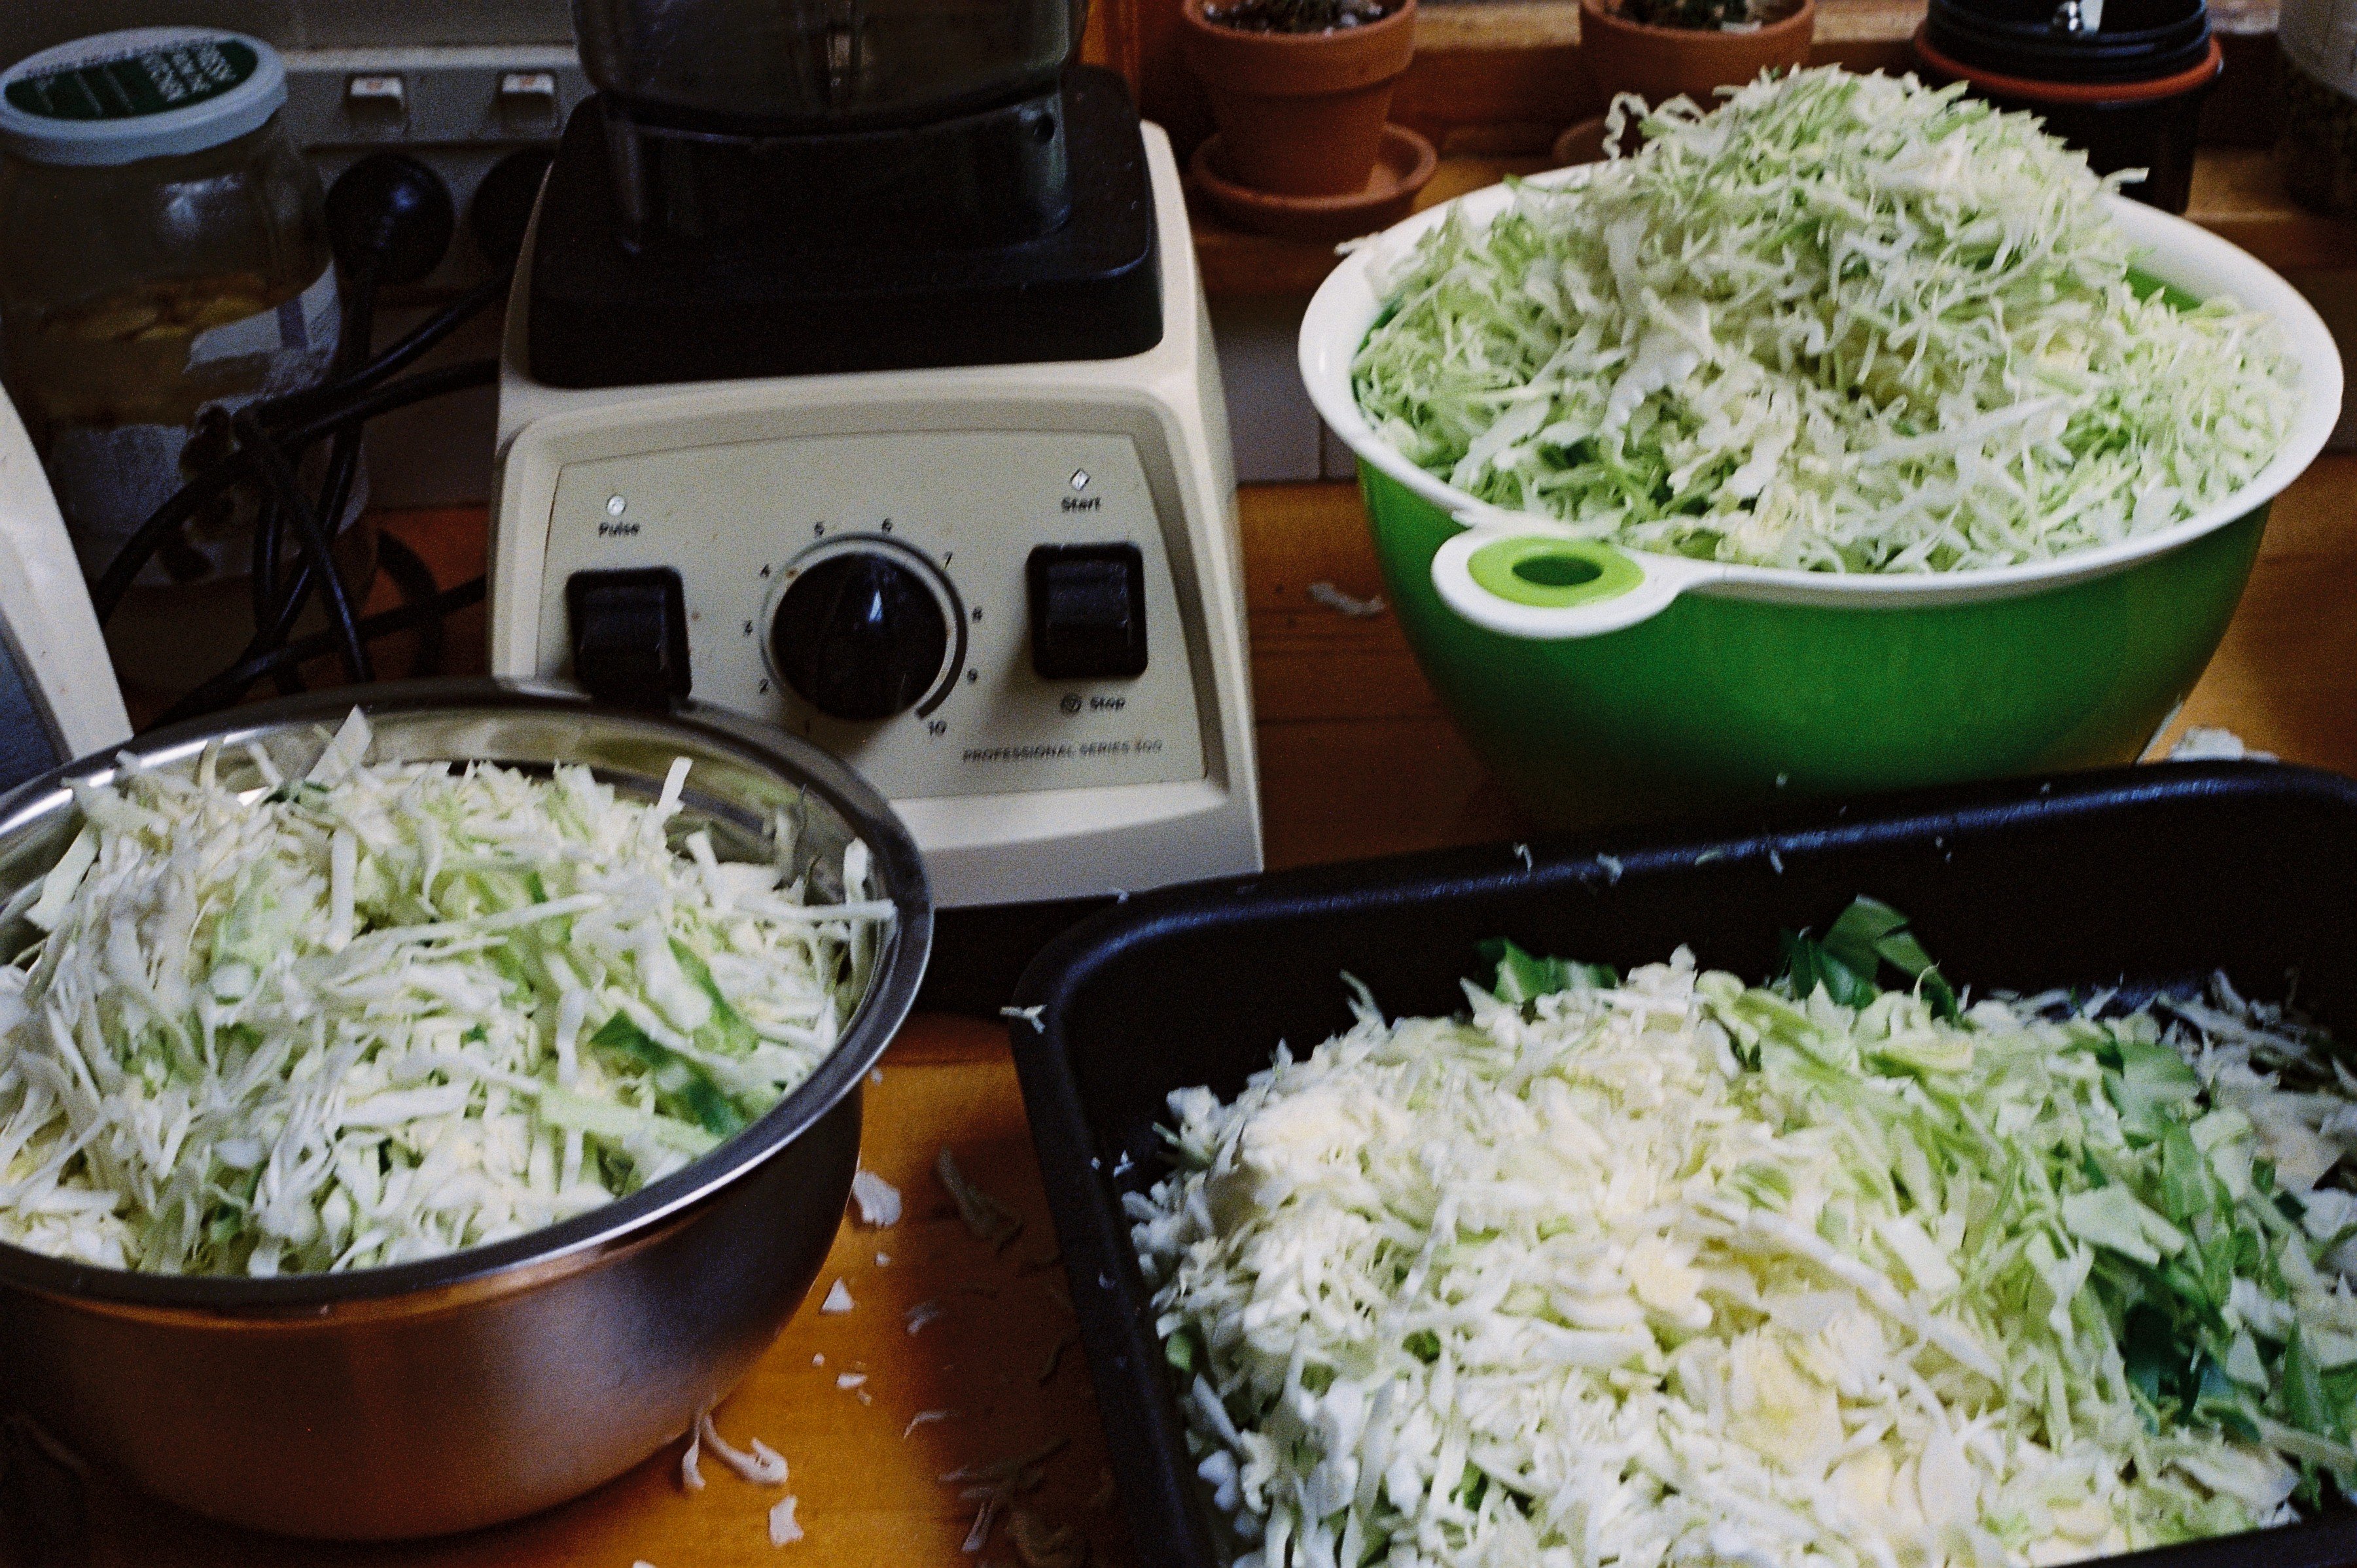
This sauerkraut is a simple, nourishing and mouth-watering recipe. From texture to taste, there are so many layers to its flavour that it supercharges any savoury meal, salad, toast, burger or pasta dish, any food is on the salty side. Or simply by itself—sauerkraut improves sustenance. Loosely inspired by a handful of recipes, we used white and purple cabbages from our local fresh produce market. We carefully cleaned our jars to avoid the risk of contamination, and we had great fun preparing this recipe.

We decided to have a go at making sauerkraut for the pleasure of preparing our food, but also for a financial payoff. High quality fermented cabbage is not always affordable, and it was interesting to estimate the cost of this delicious flavourful food. We used two seasonal cabbages, costing more or less NZ$3 per unit, with a bundle of seeds slightly above NZ$3. Overall we produced approximately 2 kg of sauerkraut for NZ$10. Usually in Auckland, a jar of 400 g retails between NZ$12 to NZ$15, depending on the brand. We also came across a 660 g jar for NZ$16. Still, our homemade sauerkraut remains considerably cost-effective, and apart from the fermenting period, it takes less time to prepare than a supermarket trip.

How to successfully make this sauerkraut recipe?

Since we prepared this sauerkraut recipe, homemade fermented food became of great interest in the house. Benoit went through a kombucha phase and now makes ginger beer, kimchi and sauerkraut regularly. And so we save money as well. In addition to the internet, two books helped us abundantly: Grown and Gathered by Matt and Lentil, and recently The Noma Guide to Fermentation by René Redzepi and David Zilber. Thanks to all these resources, Benoit is experimenting a lot. Making your fermented foods is gratifying. It is not that hard, and the results are guaranteed if you follow the instructions. Below are some questions you may wonder to succeed in sauerkraut making, or for any fermenting recipe.

How to sterilise your jars?

Cleanliness is critical when practising fermentation, preserving, or anything that involves playing with bacterias and food. Before starting, thoroughly clean your work area, utensils—bucket, if producing a large batch. Sauerkraut making involves jars at some point, either you ferment first the cabbage in a bucket or directly in the jars. We sterilise our glass containers by pouring boiling water all over, including the caps, in a clean sink. Then we let them dry on a clean cloth on the bench. Ready to stuff in the sauerkraut.

Through preservation, we also used another technique. You fill a large pot with water, bring to a boil, then place in the jars, and/or bottles. Close with a lid or superpose another pot on top to form a cap if your containers are higher than the pot. The steam created by the enclosed environment will sterilise everything, even the higher jars. I also discovered another technique online.

Here are some jars we like to use, they are super easy to clean, clip top from Le Parfait or Kilner

Why is tightly packing your jars and adding salt so critical?

In the Noma, René Redzepi and David Zilber explained that packing the sauerkraut tightly into the jars or bucket is essential to remove air, and so prevent spoilage. Wherever there is air, there is space for harmful bacterias to strive and turn your sauerkraut into some food nightmare.

The salt is also there to eliminate harmful bacterias. These bacterias can't live in an acidic environment and to reach this point, all sauerkraut recipes contain salt, which dehydrates the cabbage through a process called osmosis. This process eliminates harmful bacterias as competitors against lactobacilli. From there, the lactobacilli multiply, to a point where they produce so much lactic acid that no new harmful bacteria can live. Powerful. For this recipe, salt proportions are 2% of the cabbage mass (20 g of salt for one kilo of cabbage), but you can go up to 3% if you want a more salty taste.

Is temperature decisive for sauerkraut?

For lactobacilli—the good bacterias, to thrive, they need the right environment. According to Matt and Lentil in Grown and Gathered, the fermentation process can occur between 12°C and 25°C. For example, if you are making your sauerkraut in winter, make sure the place you keep the jars or bucket is warm enough for the lactobacilli to be active. In short, fermenting takes longer when it is colder and shorter when hot. Benoit keeps the bucket inside an old fridge, for insulation, with an electric heated mat that will turn on if the temperature goes below 12°C. When fermentation meets technology, I guess.

Everything we create is an effort to participate in a culture shift. All products featured are independently selected and curated by the authors, and we only feature items we use or would use ourselves that align with our values. As part of our business model, we do work with affiliates such as Amazon. As an Amazon Associate, we earn from qualifying purchases if you decide to purchase through our links. The price would be the same to you either way, but if you find value in our work, then these affiliate links are a way to support it. We only recommend brands, makers and products we use — that we support. Transparency is important to us, so if you have any questions, please reach out to us.

Dive deeper

© LAGOM 2025, All rights reserved